


Australia's Largest Online Haircare & Skincare Store
-

Electrical
Supercharge your beauty routine by picking up the latest in electricals, all...


Save with Bundles
-
FOREO UFO 3 Mini Fuchsia & Masks Bundle
Sale price $229.00 Regular price$264.98SAVE $35.98Regular price $229.00Unit price perSale -
FOREO UFO 3 Mini Artic Blue & Masks Bundle
Sale price $229.00 Regular price$264.98SAVE $35.98Regular price $229.00Unit price perSale -
Omnilux Contour Face + Medik8 Hydr8 B5 30ml
Sale price $579.00 Regular price -
TYPEBEA Overnight Boosting Peptide Serum Duo
Sale price $124.80 Regular price$160.00SAVE 22%Regular price $124.80Unit price perSale


RY Current Faves
-
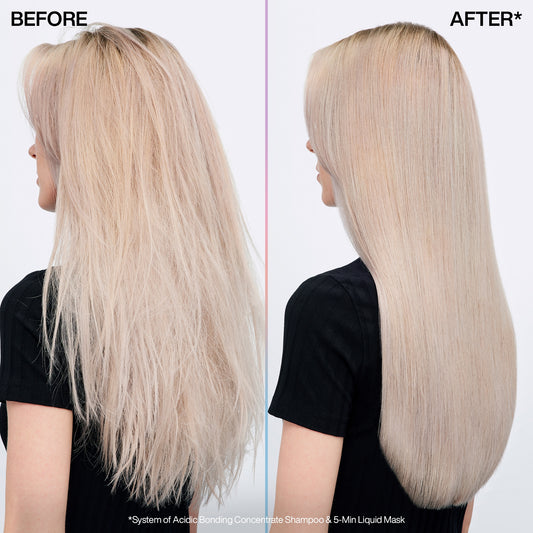
Redken Acidic Bonding Concentrate Liquid 5-minute mask 250ml
Sale price $54.02 Regular price$73.00SAVE 26%Regular price $54.02Unit price perSale -
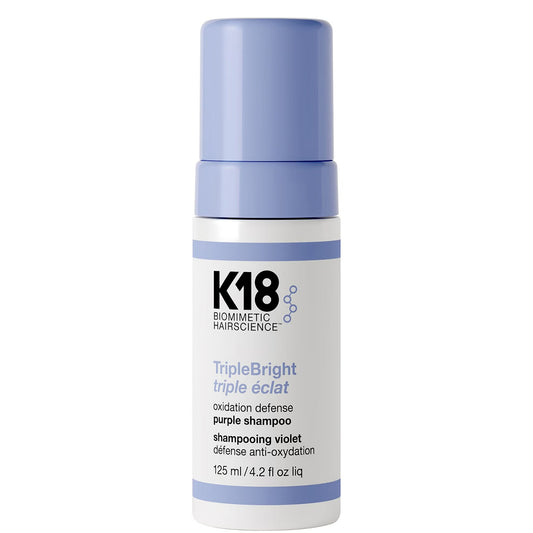
K18 TripleBright Shampoo 125ml
Sale price $59.95 Regular price -
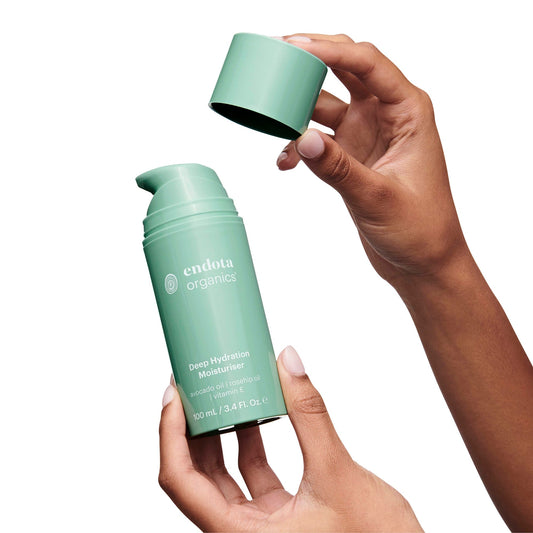
endota Deep Hydration Moisturiser 100ml
Sale price $110.00 Regular price -
L'Oréal Professionnel Metal Detox Anti-deposit Protector Concentrated Hair Oil 50ml
Sale price $57.60 Regular price$72.00SAVE 20%Regular price $57.60Unit price perSale -
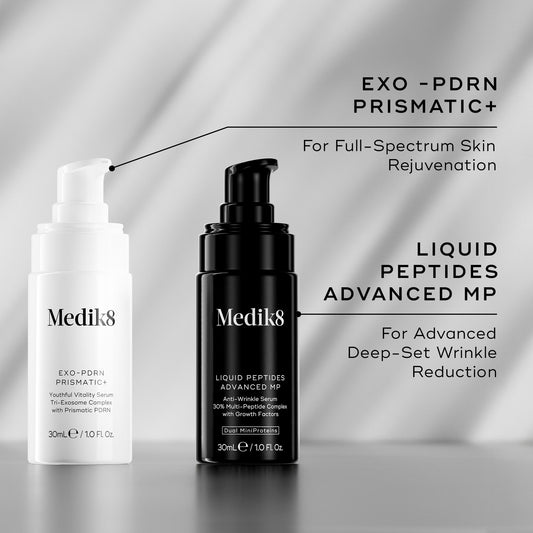
Medik8 Exo-PDRN Prismatic+ 30ml
Sale price $160.00 Regular price -
Moroccanoil Texture & Volume Powder 8g
Sale price $53.50 Regular price


ULTRACEUTICALS
We are proud to be an official stockist of Ultraceuticals, offering clinically developed skincare designed to deliver visible results.
Known for advanced, science-led formulations, Ultraceuticals targets key concerns including ageing, pigmentation, and dehydration with high-performance active ingredients.
Discover science-led skincare that works, and explore the Ultraceuticals range with confidence.
Salon-Hair At Home


ghd Chronos Curve Classic Tong 26mm Hair Curler

RY Edit: Expert Tips, Trends & Beauty Insights
View all-

What the Leaping Bunny Really Means — Your Guid...
Learn what the Leaping Bunny logo means, what's changing in 2026, and how to identify genuine cruelty-free beauty brands, skincare, makeup and haircare.
What the Leaping Bunny Really Means — Your Guid...
Learn what the Leaping Bunny logo means, what's changing in 2026, and how to identify genuine cruelty-free beauty brands, skincare, makeup and haircare.
-

How to Build a Winter Skin Routine That Actuall...
Discover how to prep your skin for winter from the inside out. Learn how Vida Glow's Pro Collagen+ Advanced Repair, Radiance+, Luminous, Hairology and Gut Pro work together to build...
How to Build a Winter Skin Routine That Actuall...
Discover how to prep your skin for winter from the inside out. Learn how Vida Glow's Pro Collagen+ Advanced Repair, Radiance+, Luminous, Hairology and Gut Pro work together to build...
-

endota’s journey from a single spa to become Au...
From one Mornington Peninsula spa to Australia's leading wellness brand — endota's certified organic skincare brings the spa experience home.
endota’s journey from a single spa to become Au...
From one Mornington Peninsula spa to Australia's leading wellness brand — endota's certified organic skincare brings the spa experience home.


