
Clearly regular contouring has been done to death, because all we’ve been hearing about lately is lip contouring! It’s become a pivotal step in Instagram and YouTube tutorials, and although it’s nothing particularly new, it seems as if a few famous pouts have sparked desire for bigger, better lips amongst the general population. Huda Kattan of Huda Beauty recently took to her blog to show off her lip contouring routine, complete with precise outlining and multiple lipstick shades to create a highlighting effect.
The whole idea is to create the illusion of plump, fully dimensional lips a la Kylie Jenner. I’m sure there are some lucky ducks out there that were born with gorgeous, luscious lips, but the majority of us could use some assistance from products and tutorials. Even Kylie herself has admitted to getting a little bit of help from over-lining and later, cosmetic injections. Don’t reach for the filler just yet, though – give this a shot first and see how much of a difference it can make!
How to Become a Lip Contouring Pro
Step 1: Prep
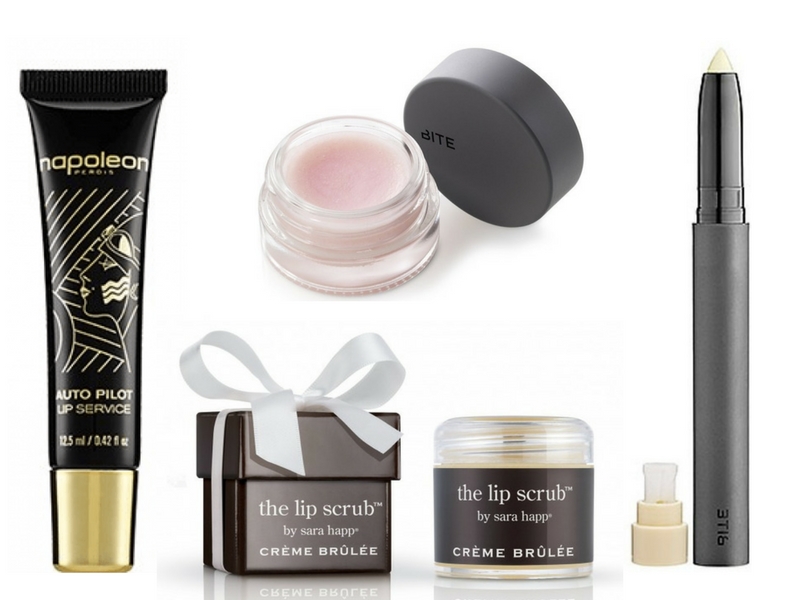
To start the lip contouring process, give your lips a good exfoliating with a scrub like this one from Bite Beauty. This’ll remove any dead skin from the lip area so that your products can go on smoothly. If you’re after something a little more luxe, this Sara Happ scrub is the stuff of miracles. It comes in flavours like Creme Brulee and Red Velvet, and will help eliminate any dry, flaky skin, leaving lips looking soft and ready for product.
Next up is a lip primer to help the products to stay on as long as possible and make the colours pop. We’re loving this nourishing lip primer from Napoleon Perdis – it’s enriched with Vitamin E to help condition and repair the lips, and menthol to freshen and soothe. Bite Beauty also offer a fantastic lip primer that’s formulated with silica to stop products from feathering, as well as essential oils like Jojoba and Argan Oil to lock in moisture. Mint provides a little plumping action.
Step 2: Outline
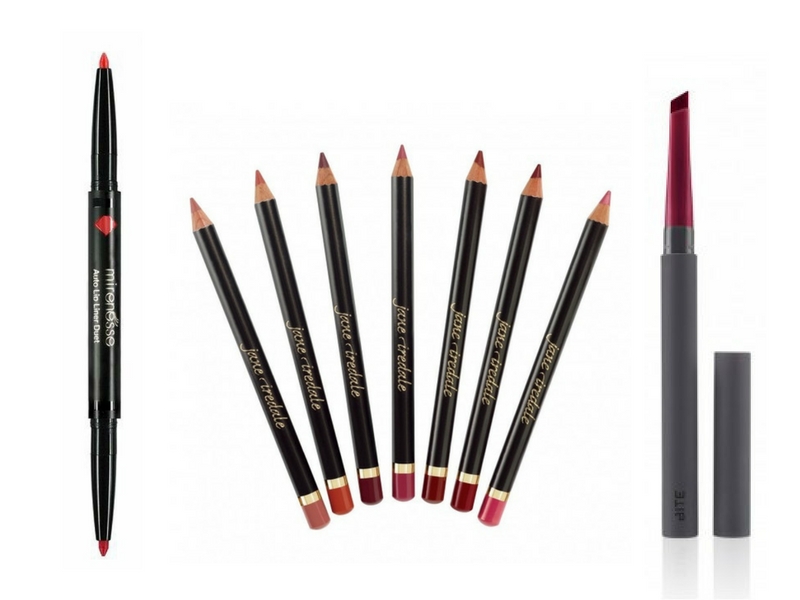
Now, it’s time to actually apply some coloured product and get contouring! Outline your lips as you usually would, making sure you’re as precise as possible. Then, around the cupid’s bow area, extend the lines downwards to create a little ‘X’. Fill the sides of your lips in slightly further than you generally would, shading inwards to thicken the line. When it comes to picking the perfect lip liner, take your favourite formulas into consideration. If you love a good, tough lip pencil, this one from Jane Iredale comes in an amazing variety of colours and really imparts the pigment onto the lips so you’re not required to press and press. For a product with a creamier texture, we can’t go past the Mirenesse Auto Lip Liner Duet, which offers two shades so you can simulate an ombre effect and really amp up the definition. Of course, Bite Beauty is pretty much heaven for lip product addicts, so naturally, they’ve got a fab liner in their range – the Contour Lip Liner has a slanted tip that’s a little thicker, so you can graduate the colour with ease and blend out if necessary.
Step 3: Fill
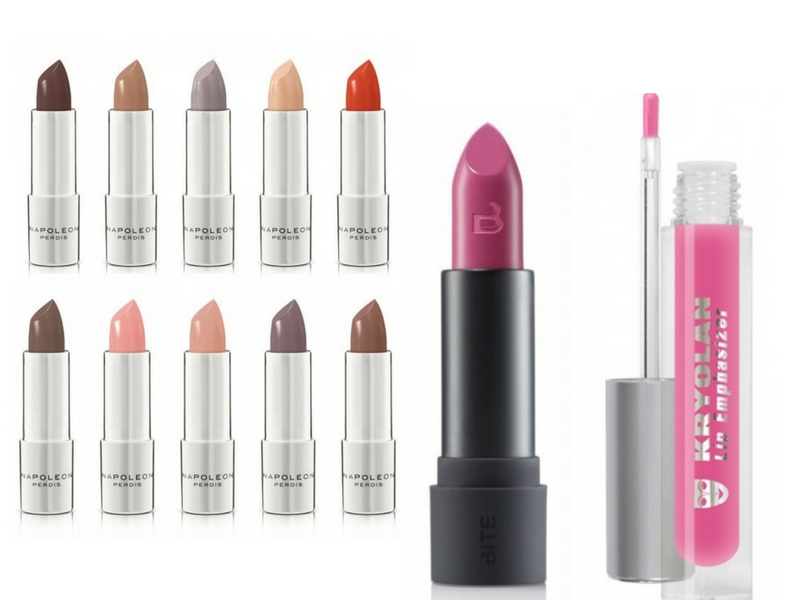
Grab out your favourite lippie for this step! Find a corresponding shade that’s the same or slightly lighter than the colour you’ve used to line your lips, but make sure not to vary the colours too much to avoid that incredibly 90s, dark-lined look (unless that’s what you’re going for, of course!). Apply the lipstick all over the centre of the lips and blend into the lip liner with a lip brush for a gradient effect. If you haven’t already got a go-to lipstick shade that this step brought to mind, we adore the new Napoleon Perdis Miss Jean lipsticks for a little something different – the colours are incredibly unique and the formula is crazy smooth. These gorgeous mattes from Bite Beauty are also featuring in our current faves. For a more glossy formula, make a beeline for the Kryolan Lip Emphasizers. These will plump and volumise the lips like you’ve never experienced before!
Step 4: Highlight
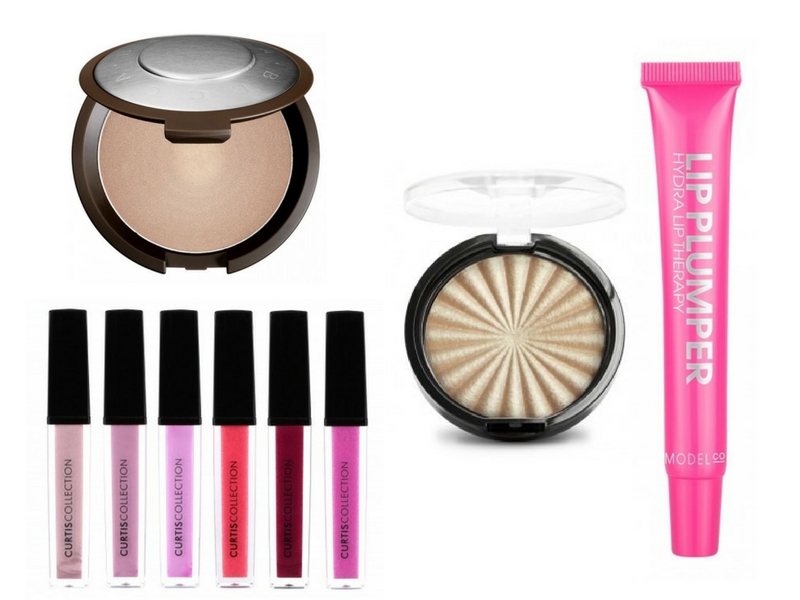
The final step in your lip contouring master plan will be highlighting the lips to give the illusion of high points and low points, which helps to simulate fullness. Try and find a colour that corresponds well enough with the lipstick you used to fill in the lips, but isn’t any darker. A gloss with slightly less pigmentation but a lot of shine is absolutely perfect for this step! Apply with a light hand to the middle of both your top and bottom lip, and once again, grab that lip brush to help you blend the product out. These Curtis Collection glosses are simply divine and would work perfectly for this final step. Alternatively, find a good quality, non-sticky clear gloss like this one from ModelCo, designed to visibly plump the lips. You could also use it in the first step to give you a juicier canvas to work with! Finish all your hard work off with a dab of highlighter on the outer cupid’s bow, like you’d regularly apply as part of your highlight and contour routine if you have one. We can never go past the famed Becca Shimmering Skin Perfectors or the cult fave Ofra Rodeo Drive Highlighter!
Do you plan on trying lip contouring at home? If you’re a pro, what are your favourite products to use? Let us know in the comments!